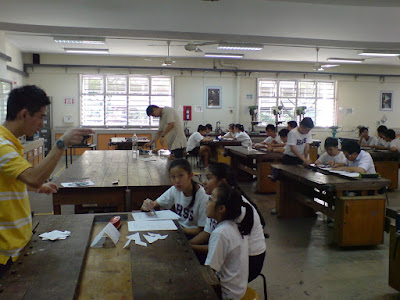


 During today's training, we have 11 Sec 1 students attached to us for their CCA attachment program. We started the day by watching 3 very interesting videos downloaded from www.ted.com, a website that hosts all resources related to the innovative and cutting-edge talks from TED (Technology, Entertainment, Design). The students were visibly impressed by how design is changing the world in waves. They were inspired to put in their most for the rest of the years as the club tackles different competitions.
After watching the videos, an aptitude test were given to the students, with the particular intent of selecting Sec 1 students who would be suitable for the activities of DNI. The students worked in groups of 3 and tackled questions related to the multiple intelligences of spatial, logical-mathematical, and natural intelligences. The amount of energy and discussion was simply uplifting, as the students engaged one another in generative conversations in an attempt to solve the questions. Some of the answers were very creative and brought new insights to all the members of the club.
After the test, all the students gathered together to discuss the answers before they broke for lunch. After lunch, the club had a fun time of ice-breaking games and they got to know one another more. Finally, the Sec 4 students came up one by one to share about their time in DNI and about the things that they have learned throughout the years in the club. DNI is forever grateful to the Sec 4 students for leading the club in key competitions! We'll miss them!
No comments:
Post a Comment